status — student work. the final project for MTEC2250 Fabrication for Physical Computing, fall 2022. it was built, it runs, and it has been on a desk ever since — which is where I keep it.
it is a record player in shape only. the platter turns on a belt drive and the arm sits where an arm sits, but there is no cartridge and nothing is being read — the sound it reacts to comes from the room, through a sensor, and drives an LED strip. calling it a record player is a description of the form, not of what it does.
the course was about fabrication, so the point was never the electronics. the point was whether a thing designed on screen could be made to exist at the right size, hold its own weight, and turn without wobbling. it mostly wasn't, at first.
what it does
- turns a platter on a belt drive, from a DC motor
- lights up with sound — an LED strip under the platter, which is white and passes the light
- holds a phone on a printed arm, which is the part that gave the most trouble
- swings that arm — a servo sunk into the base turns it
the two things that actually took work
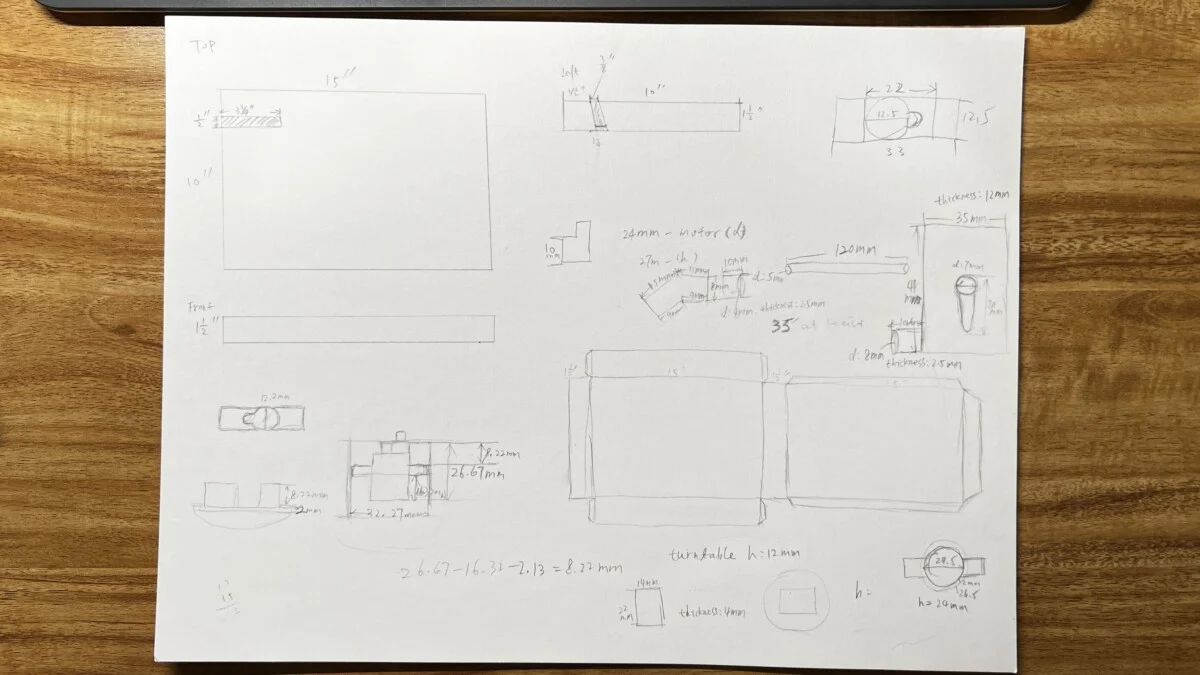
the arm was too heavy for where it was attached. designed in Fusion 360 from mockup measurements, printed, fitted — and it pulled the whole assembly out of balance. the fix was not a better bracket; it was going back and redesigning the arm around where its weight would end up, which is a thing that is obvious on the second attempt and invisible on the first.
the motor and the platter were not on the same level. a small difference, and the belt would not run true.
both of these turned up while assembling the real object — neither is visible in a CAD view, where everything sits exactly where you put it.
getting to that point went: hand sketches, then chipboard and foam board mockups to test size and proportion, then an Arduino breadboard to see whether the motor, the servo and the sound sensor would behave together, then Fusion 360 measured off the mockup, then printing and soldering. the mockup is what made the CAD useful — the dimensions came off a physical thing rather than out of a guess.
driving the arm
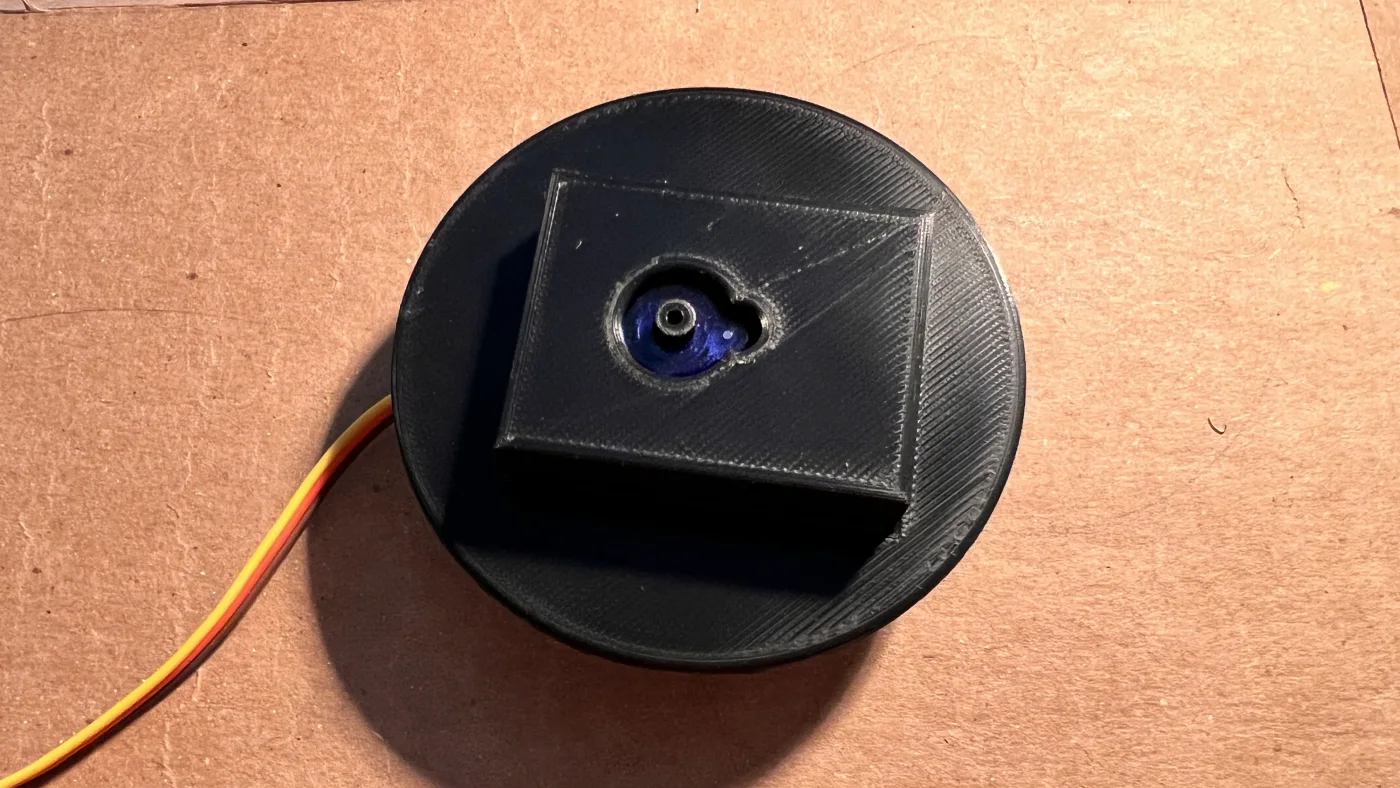
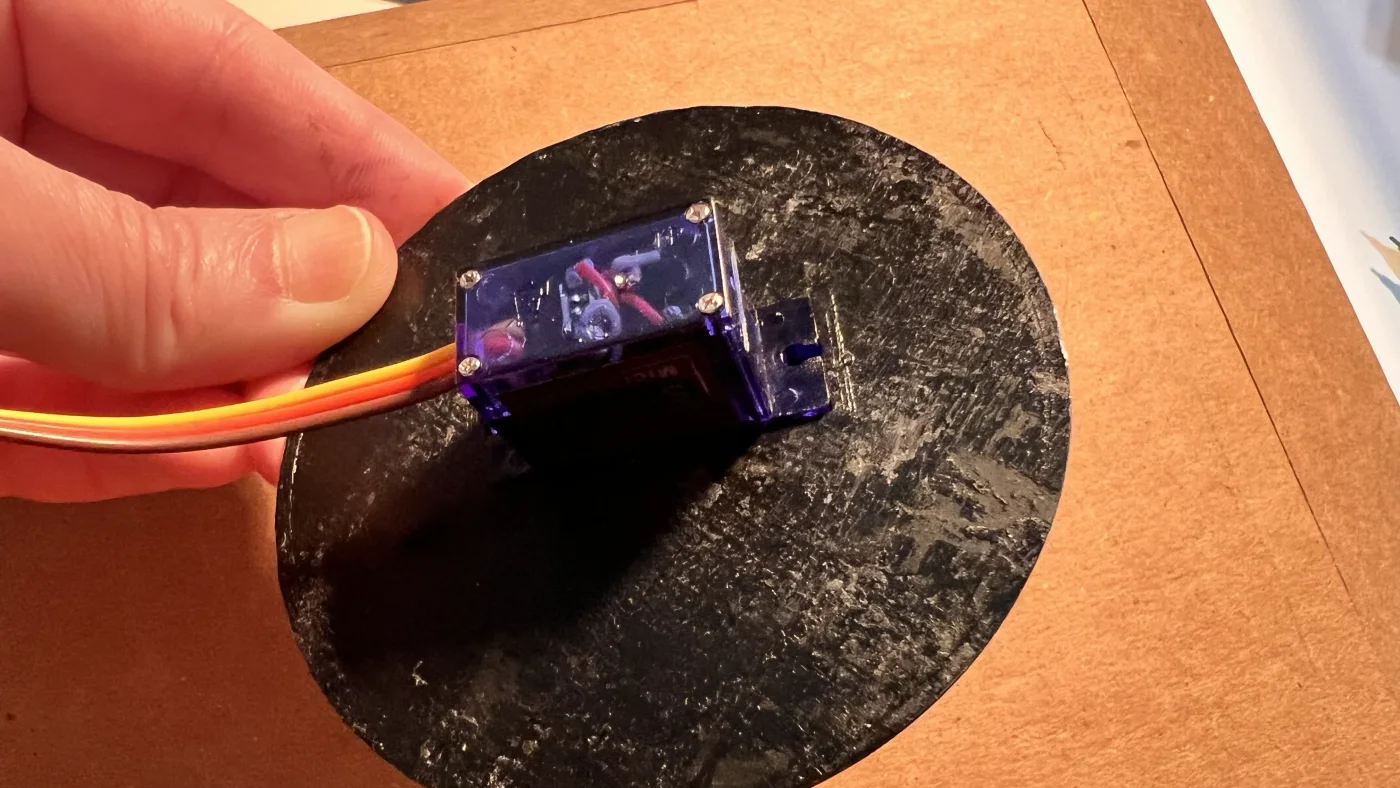
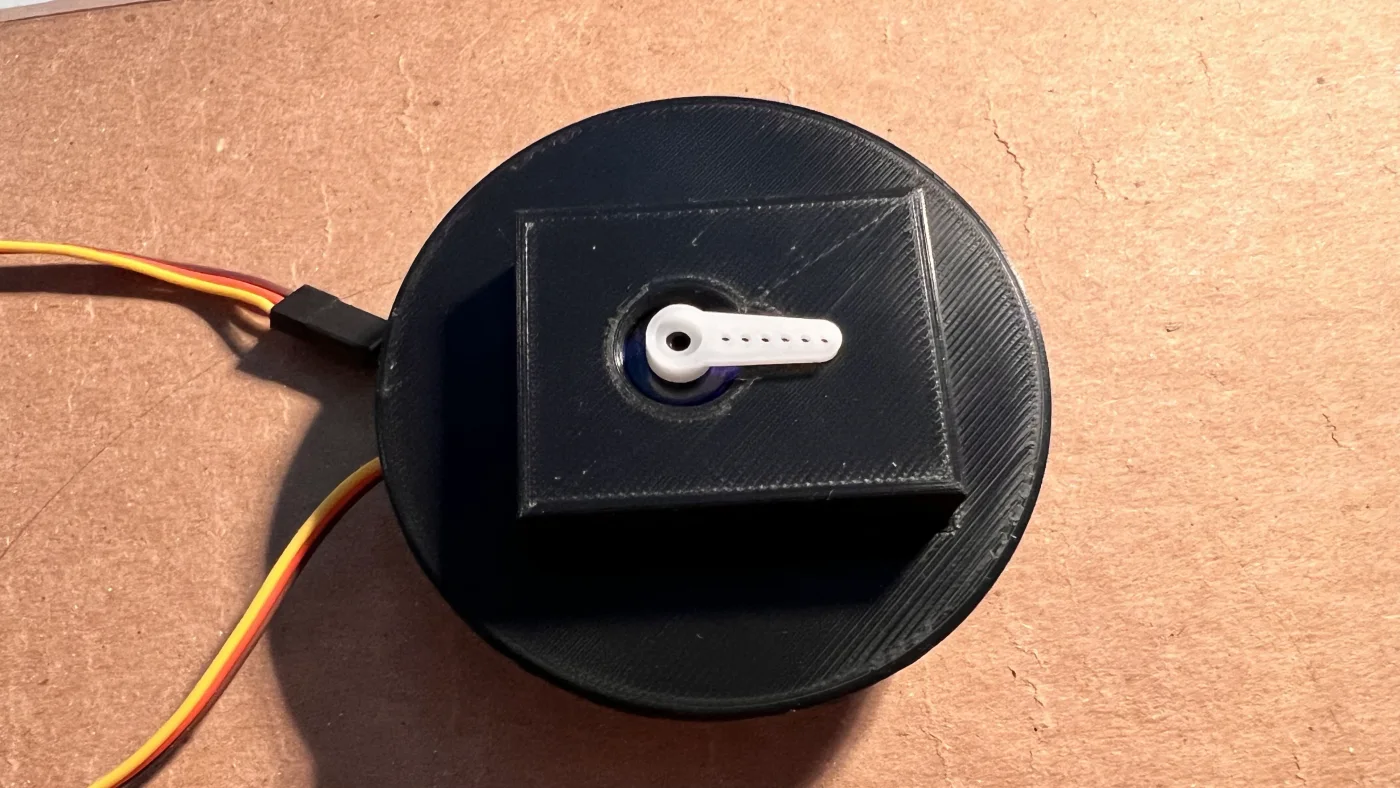
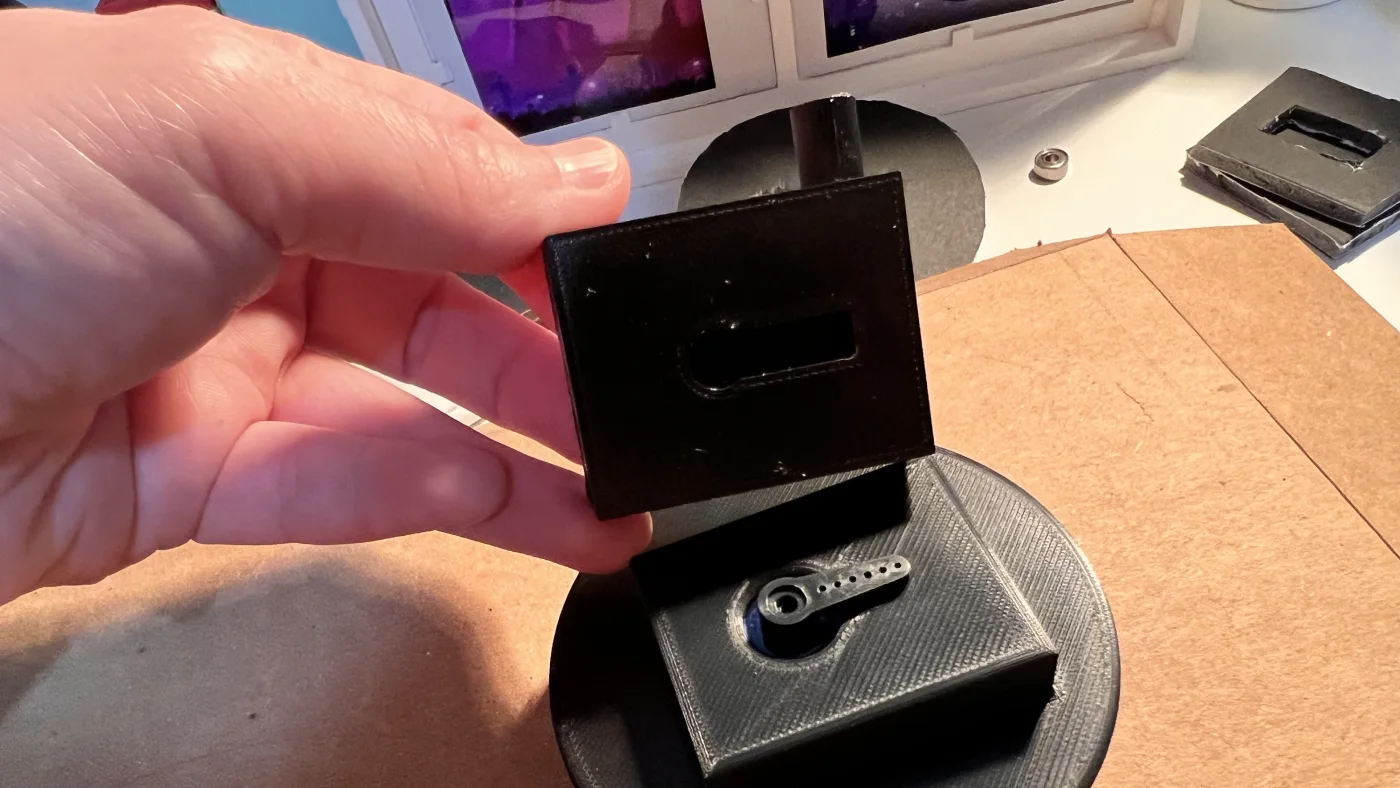
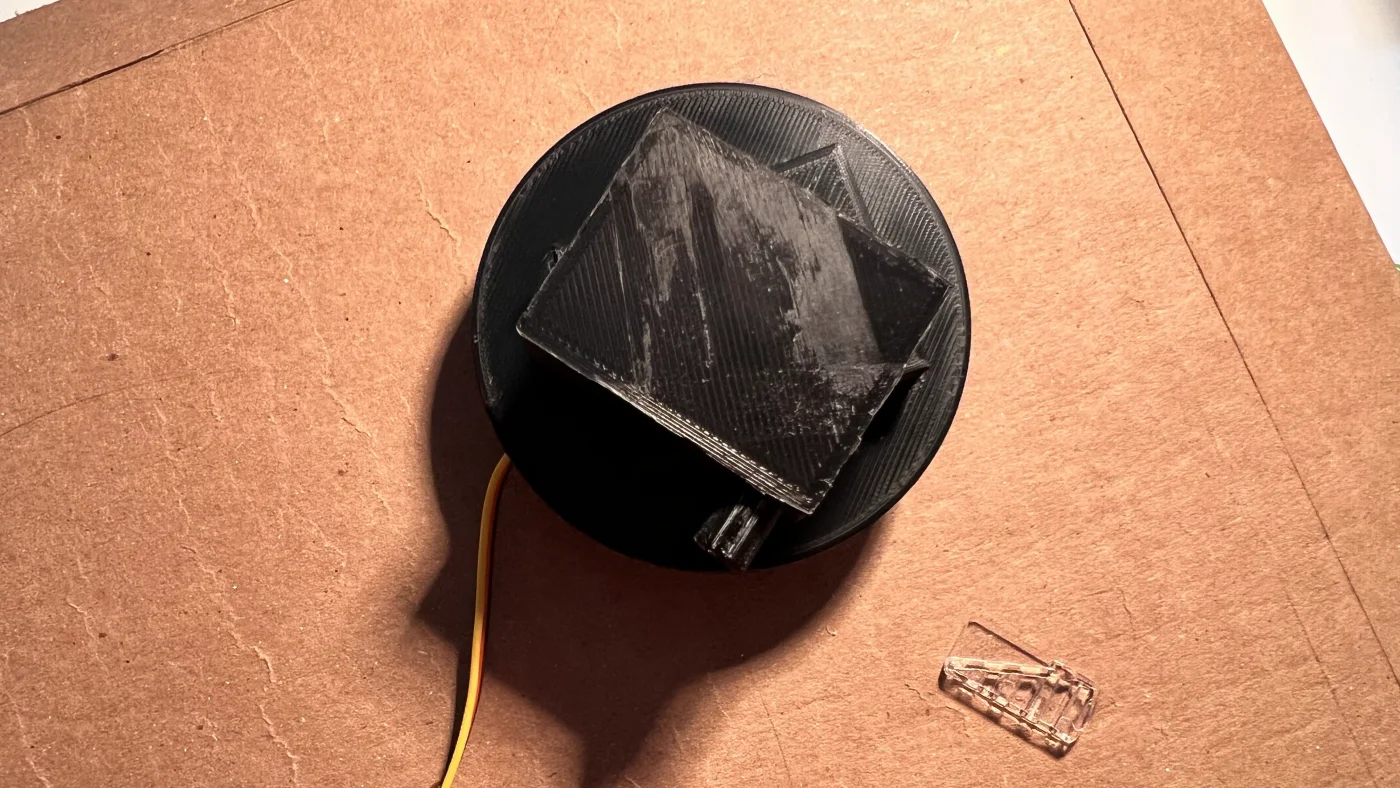
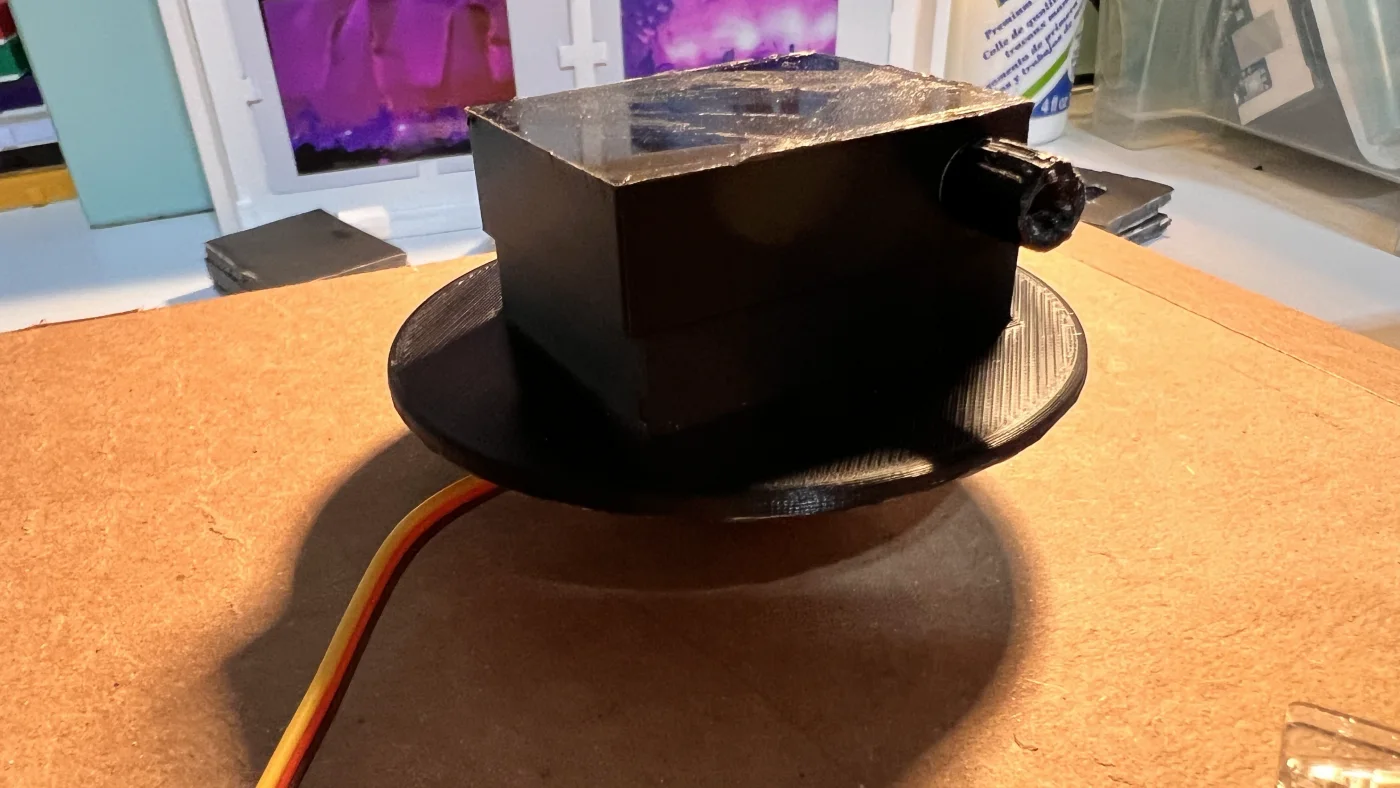
nothing drags this arm across a record, because there is no groove to drag it. a servo sits down inside the printed base with only its horn coming up through the top; a printed block keys onto that horn; and the arm's rod slots into a socket at the front of the block. the servo turns the block, and the block turns the arm.
the analysis is crude, the light is not
the sensor reads a level and the lights follow it. there is no frequency analysis and no smoothing worth the name, so a door closing gets the same answer as a chord.
what makes it worth looking at anyway is physical. the LED strip sits under the printed platter, which is white and passes light, so what reaches the room is not a line of diodes but a disc changing color across its whole face. the part doing the work there is a printed one, not the signal behind it — which on a fabrication course is the right way round.
where it stands
built, finished, photographed. what it was for was learning to make a physical thing accurately, and it did that: everything mechanical I have built since started from a mockup rather than from a model.